Hey Friends! How is your January going? Did you have your Christmas decorations up as long as I did? We finally took the tree down about a week and a half or so into the month. I tell ya, if you are like me, I probably decorate the most for Christmas, so it takes a while to get it all put away with life going on.
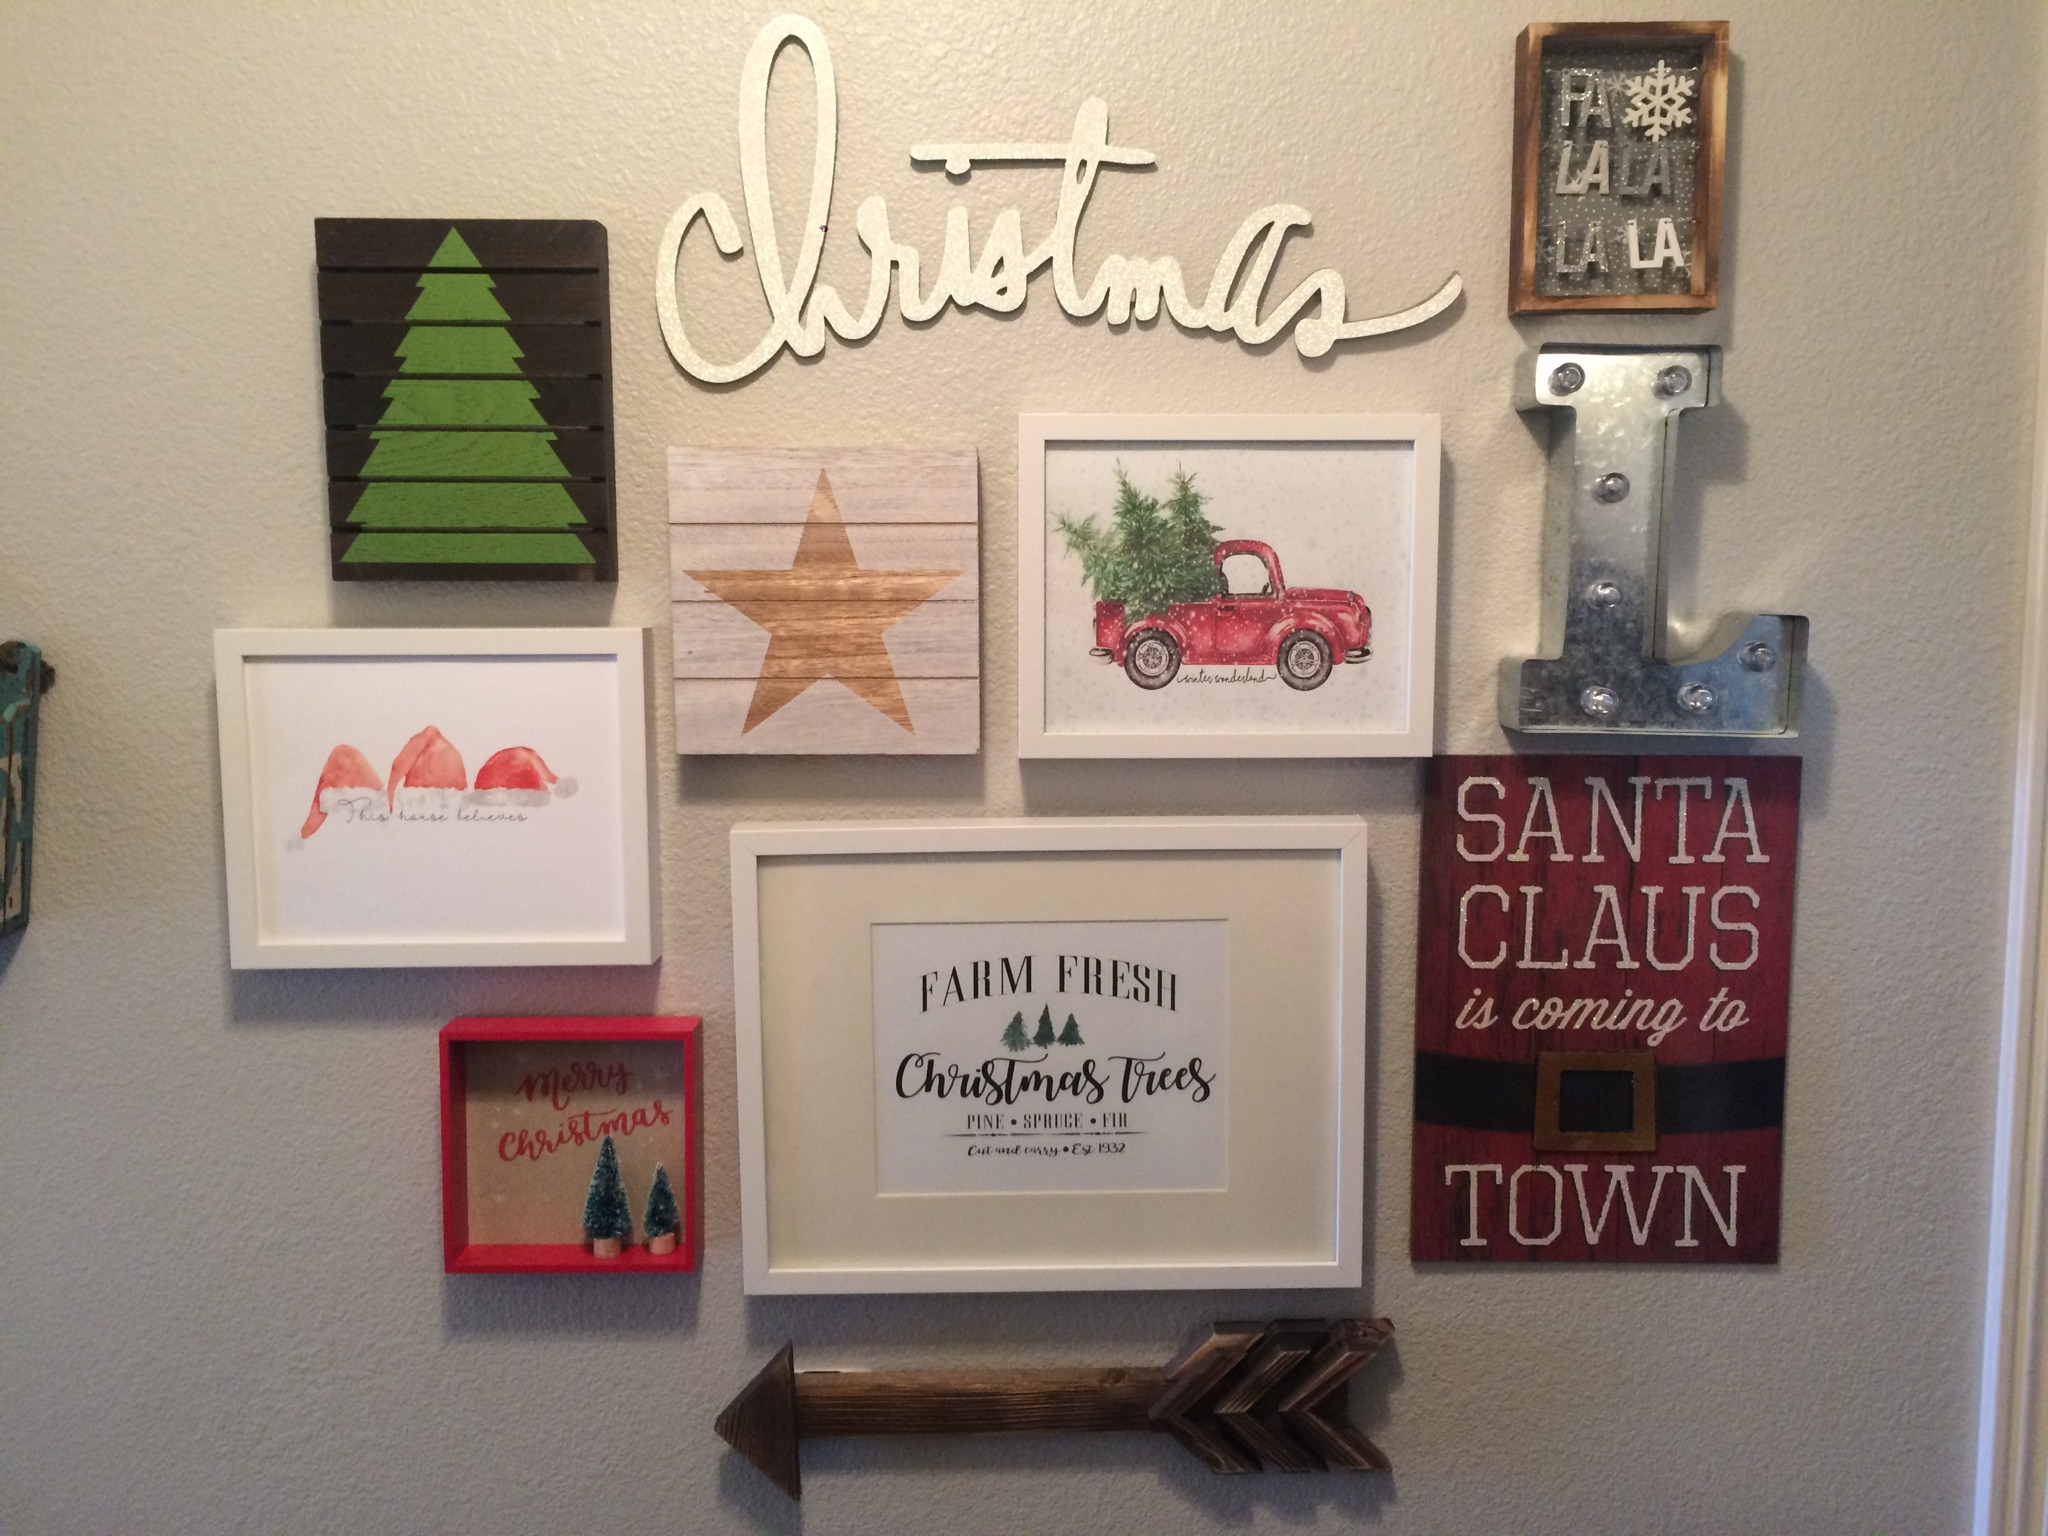
So, what have you been up to in 2018 so far? I have been busy with some house projects lately, and one of them is my entry way wall. It was blank until the beginning of December, then I decided to create a gallery wall for the holidays. This is what it looked like.

Using a few printables I purchased at Pinner’s Conference, white Ikea frames, arrow and light up letter from Hobby Lobby, Christmas word from American Crafts, Santa Sign from Walmart, and the rest of the signs from Target, it was a fun project for the holidays.
So, I am not a big fan of having a million holes in my wall to cover up each time I want to move a picture. Wanna hear the secret to not having to make your walls look like swiss cheese? Okay, here it is. 3M Command strips! I am in LOVE!
Every one of the pictures/items on this wall aside from the Letter L are hung by the 3M Command strips. (The letter L was too deep in the back so it needed a little hardware help. :)) So, they stayed up all December and into January and nothing fell. I am super impressed with the Command strips and so I purchased them again for my Valentine gallery wall.

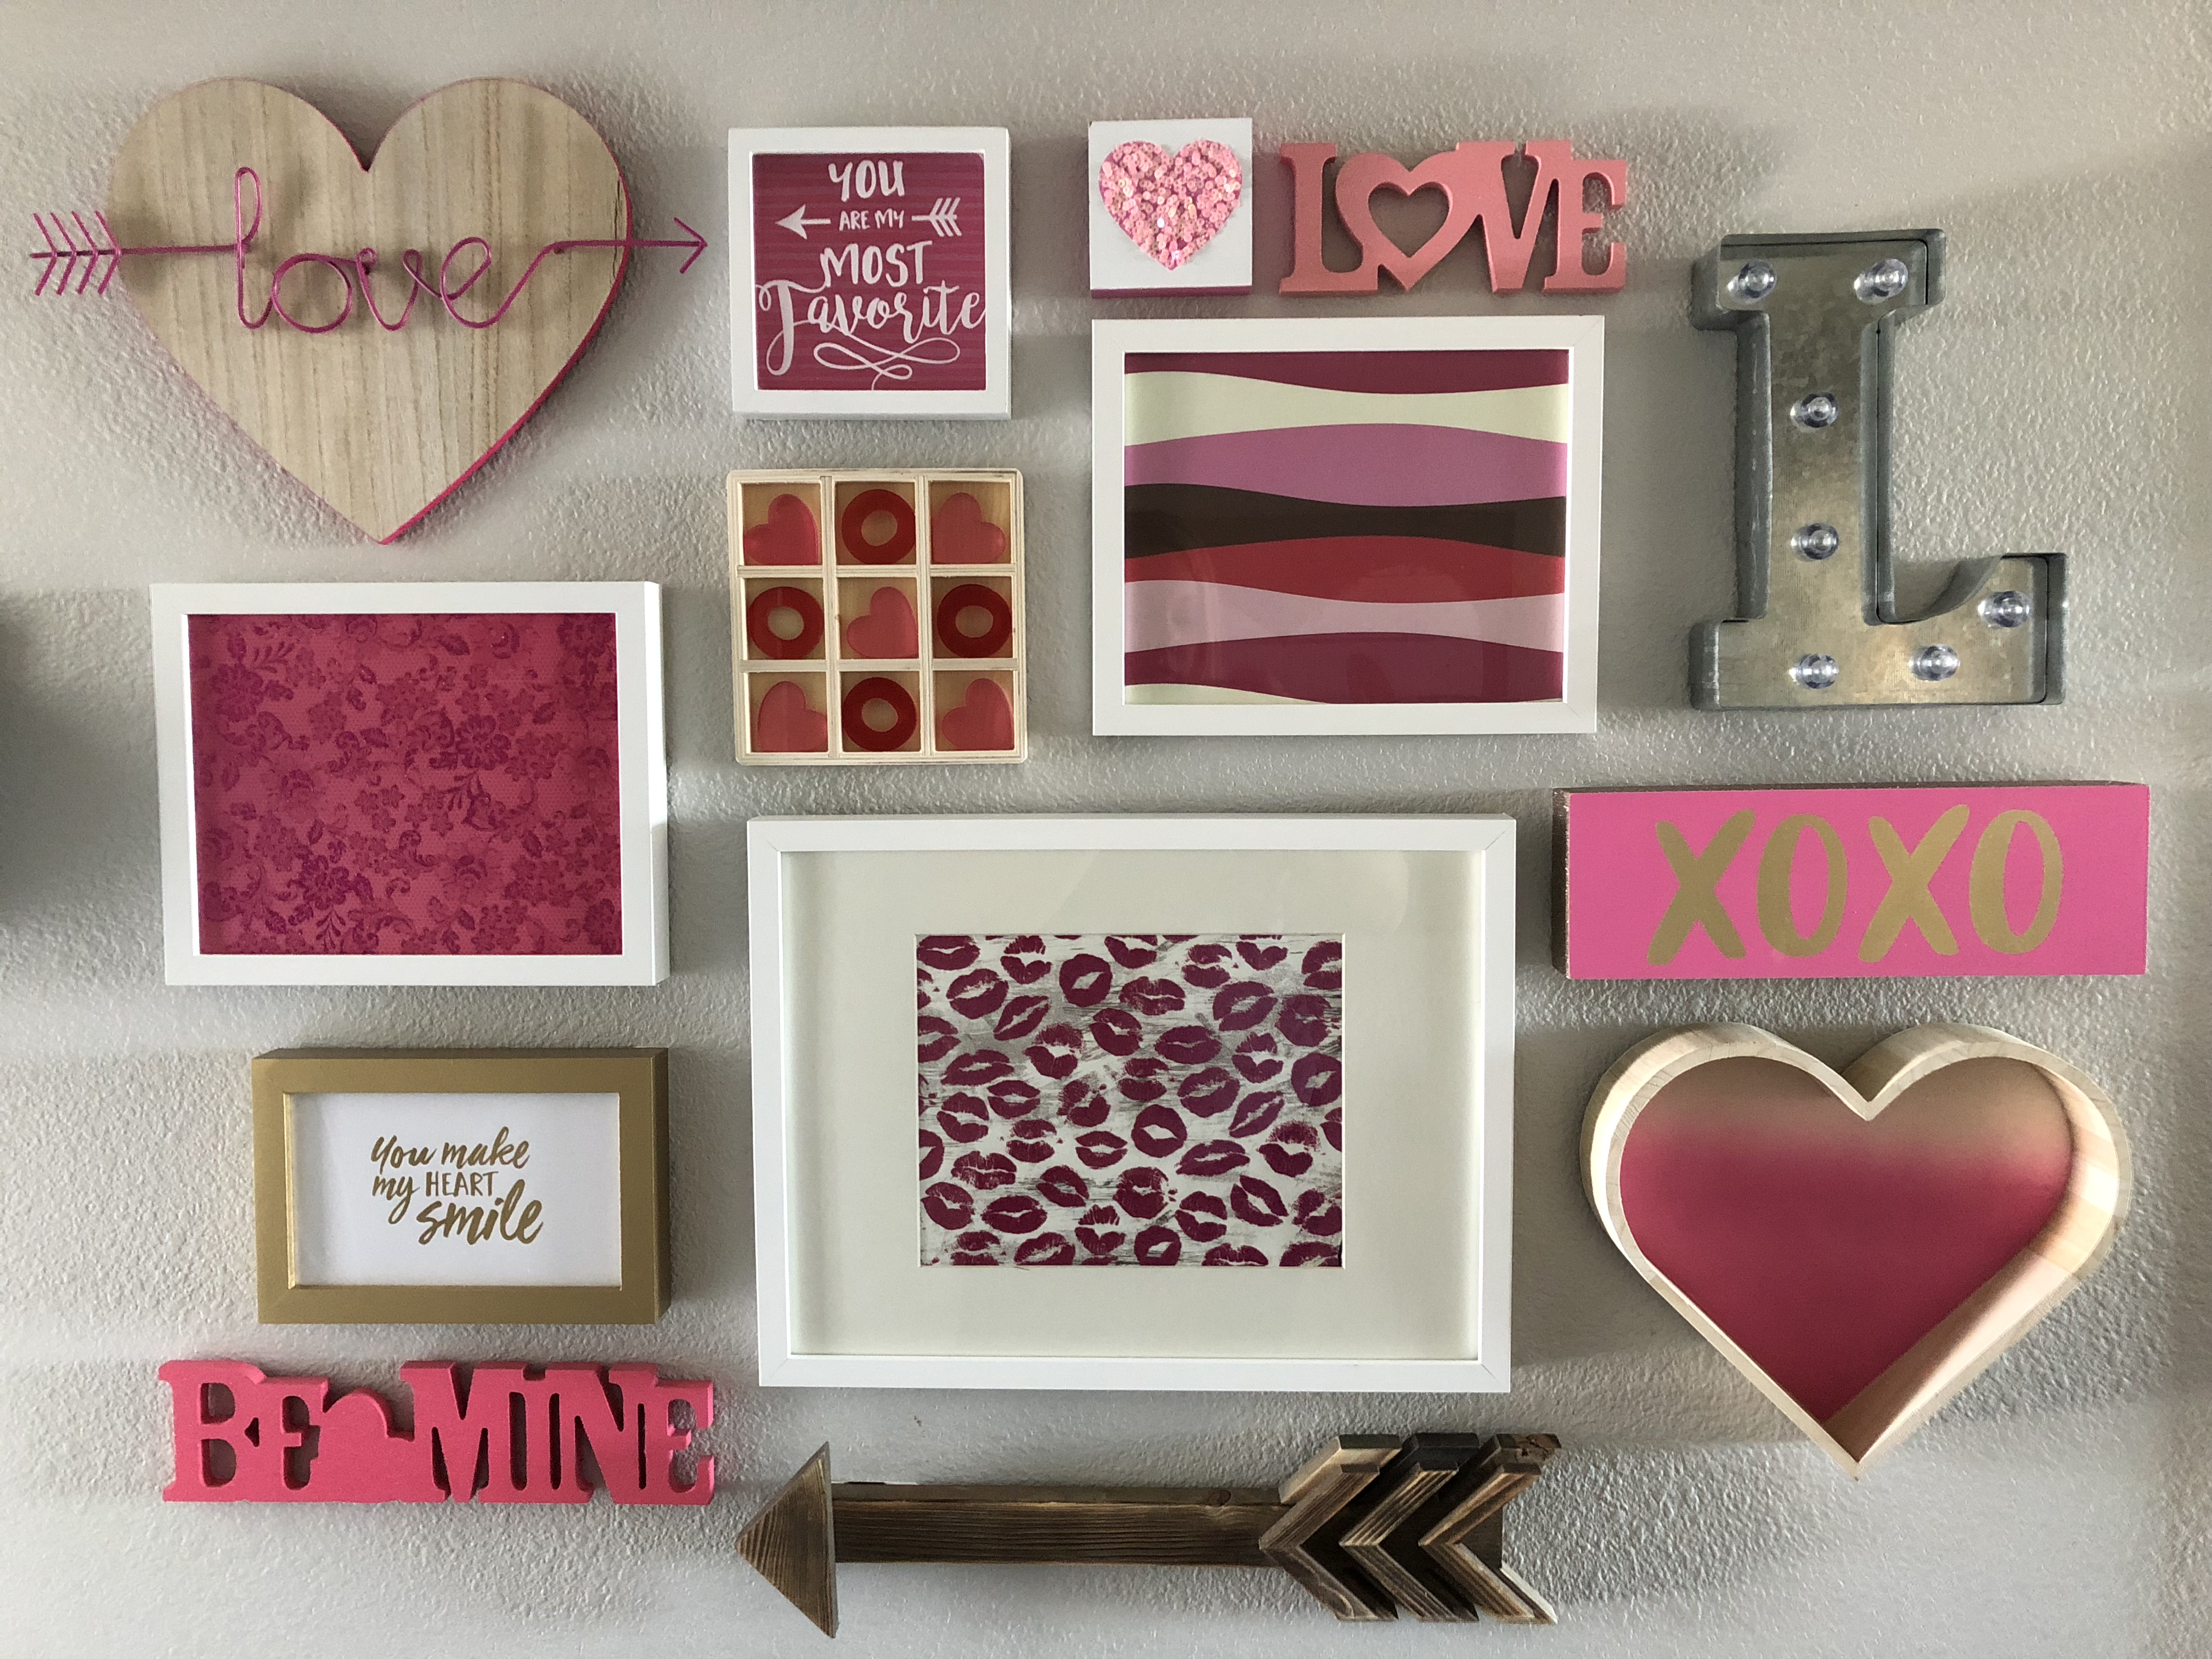
As you can see, I left the Letter L decoration in again, but again, everything else is hung with the Command Strips. Woohoo! No swiss cheese walls here!
For the Valentine wall, I used the arrow again as well as the white frames. I just filled the frames with scrapbook paper I had on hand. All of the other Valentine décor came from the Target dollar spot. Design doesn’t have to be expensive to be fabulous. Also, I love reusing décor in different areas of my home or for different holidays when I can, to get more use out of them.
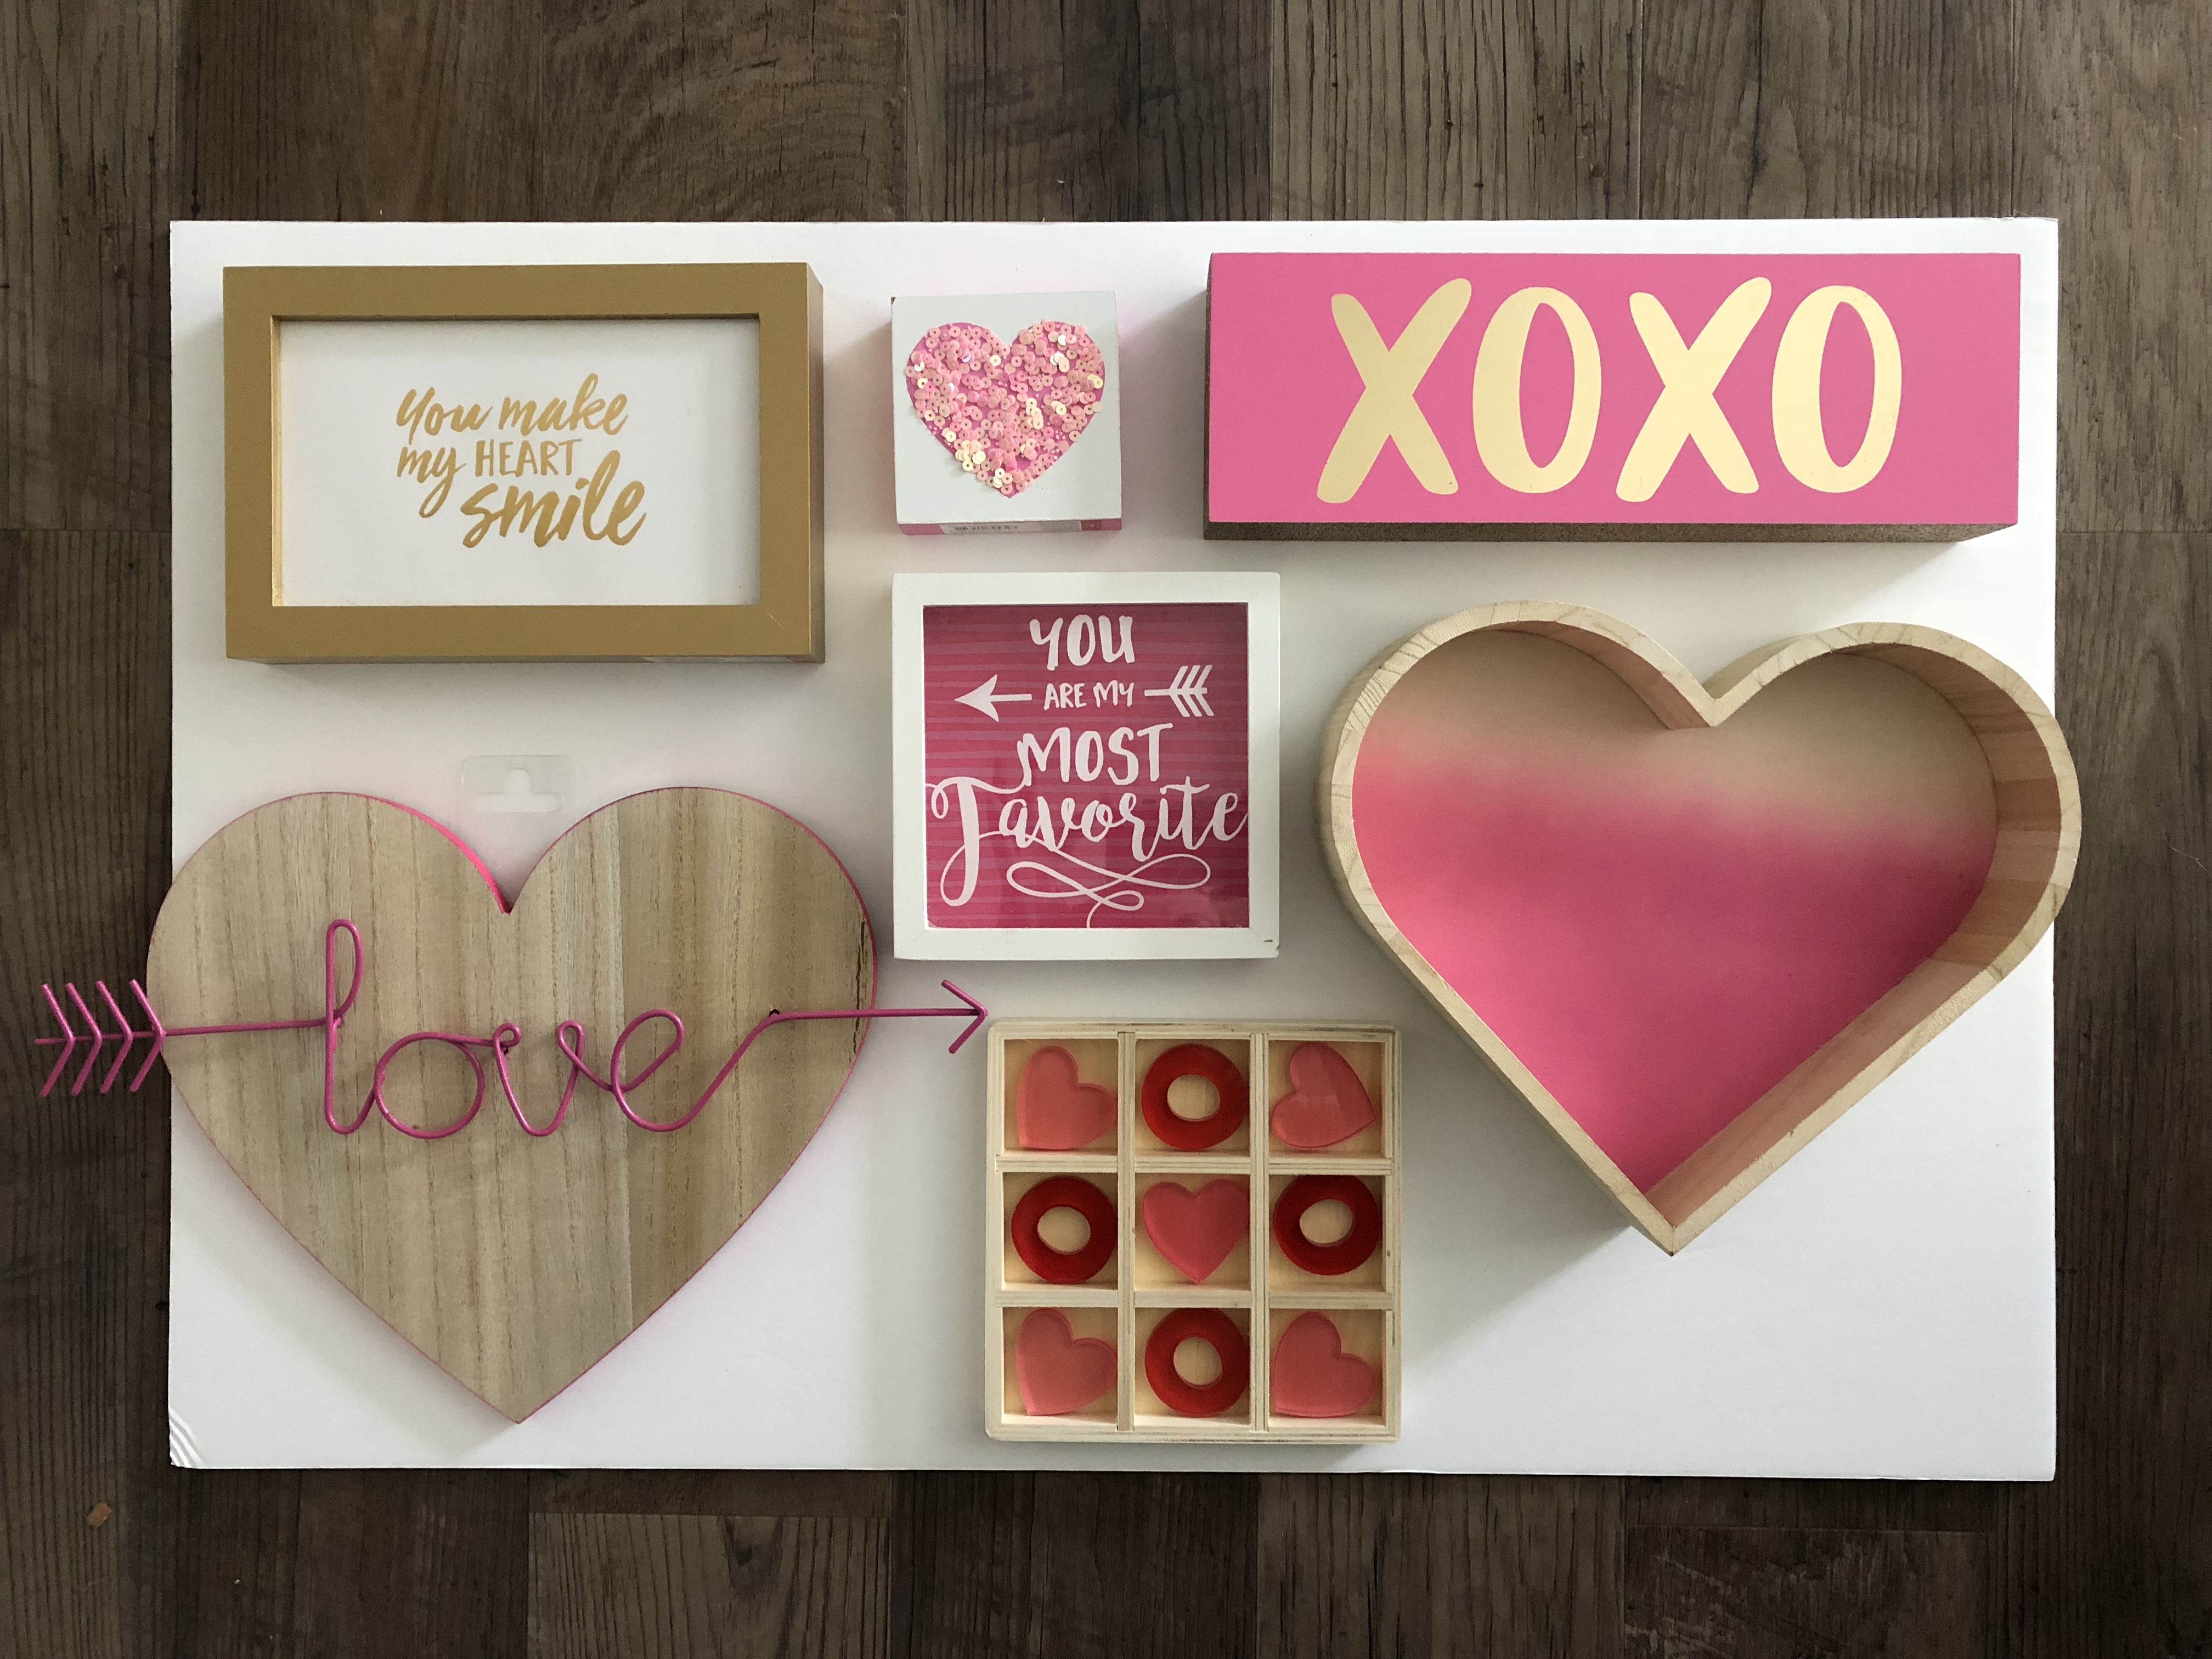
Creating a gallery wall can be very easy. I like to take all of the items I have gathered, and lay them out on the floor. Then I move them around until I get the look I want. Like this…

I didn’t measure between the items on the wall, I just eyeballed it. For me, that made it a lot less stressful, knowing it didn’t have to be exact to turn out well. Have fun with it. If you don’t love it once it is up, you can always move it around and change it (remember, no holes). I haven’t decided if I will change the wall for every holiday, but for now I am enjoying it.
If you are looking for ideas for how to lay out your gallery wall, Pinterest is a great place to look for inspiration. I like to include a mix of pictures/frames, and some items with depth and texture. Adding some unexpected pieces is also fun. For example, the tic-tac-toe set I put on the wall, was just a cute game in the dollar spot, but hanging it on the wall ended up being a fun twist. Use your imagination and enjoy! If you have created a gallery wall, please share in the comments! I would love to see it!

P.S. This is not sponsored by 3M, I just love the product. If you are looking for the 3M strips, here is a link.
*Contains an affiliate link


Leave a Reply